


Settings
|
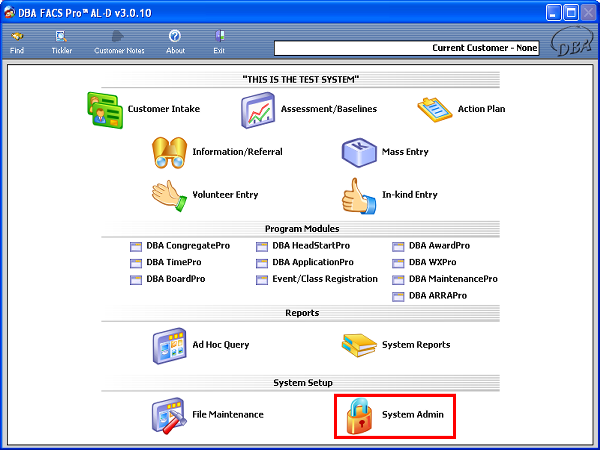
To enter settings, first click on the System Admin icon. |
|
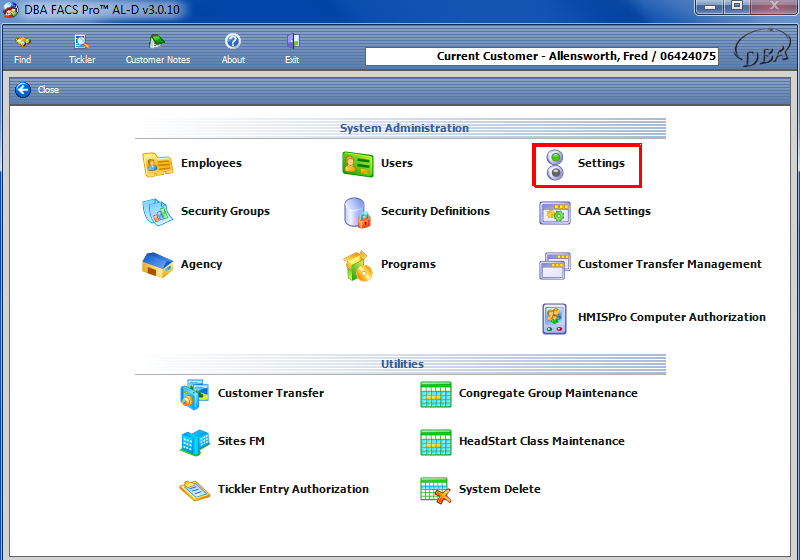
This will take you to the System Admin screen. Next, click on the Settings icon. |
|
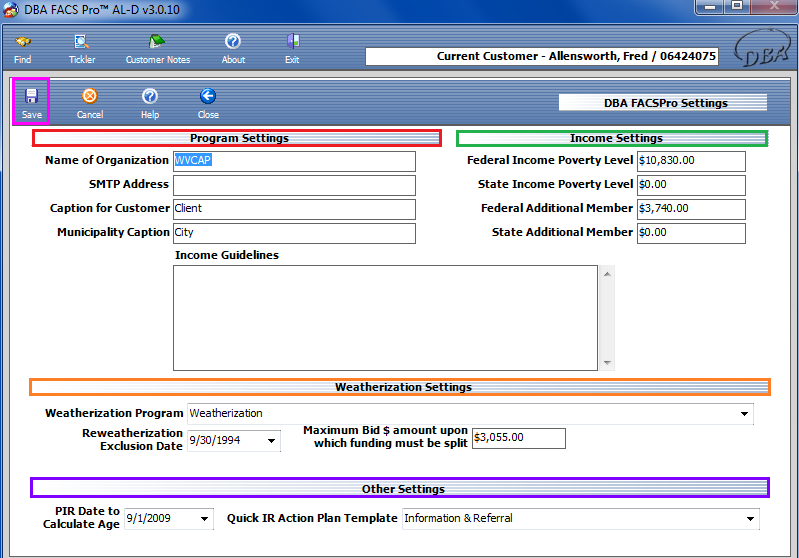
The next screen to appear will be the Program Settings screen. Here, you can enter information right away pertaining to the settings of the program, such as the name of the organization, the SMTP Address, various captions, and more. In the first field, fill in the name of the organization, such as WVCAP. Next, fill in the SMTP Address. This address is the user’s e-mail server. IT MUST BE AN SMTP ADDRESS. Under Income Settings, there are four fields to input information in. The Federal and State Poverty Level fields are used as a baseline to determine the poverty level of a program’s customers/clients. It is also used in calculating a percentage for the customer/client based on the national average under the Income screen in Customer Intake. In the Federal and State Additional Member fields, the user can input the amount of money needed for each additional family member beyond 8. For example, if the Federal Additional Member was $3,400.00 and the client/customer had twelve total family members, the client/customer would have to make the initial amount, plus 11 times the additional amount to be at 100% of the federal poverty level.
In the drop-down list next to the Quick IR Action Plan Template, under Other Settings, the user can select a template for formatting the action plans, a set of interactions with the client/customer. When all the fields are complete, click the Save icon to save all information. |